How to Invite Team Members to Your AI Agent with CivicAI
How to Invite Team Members to Your AI Agent?
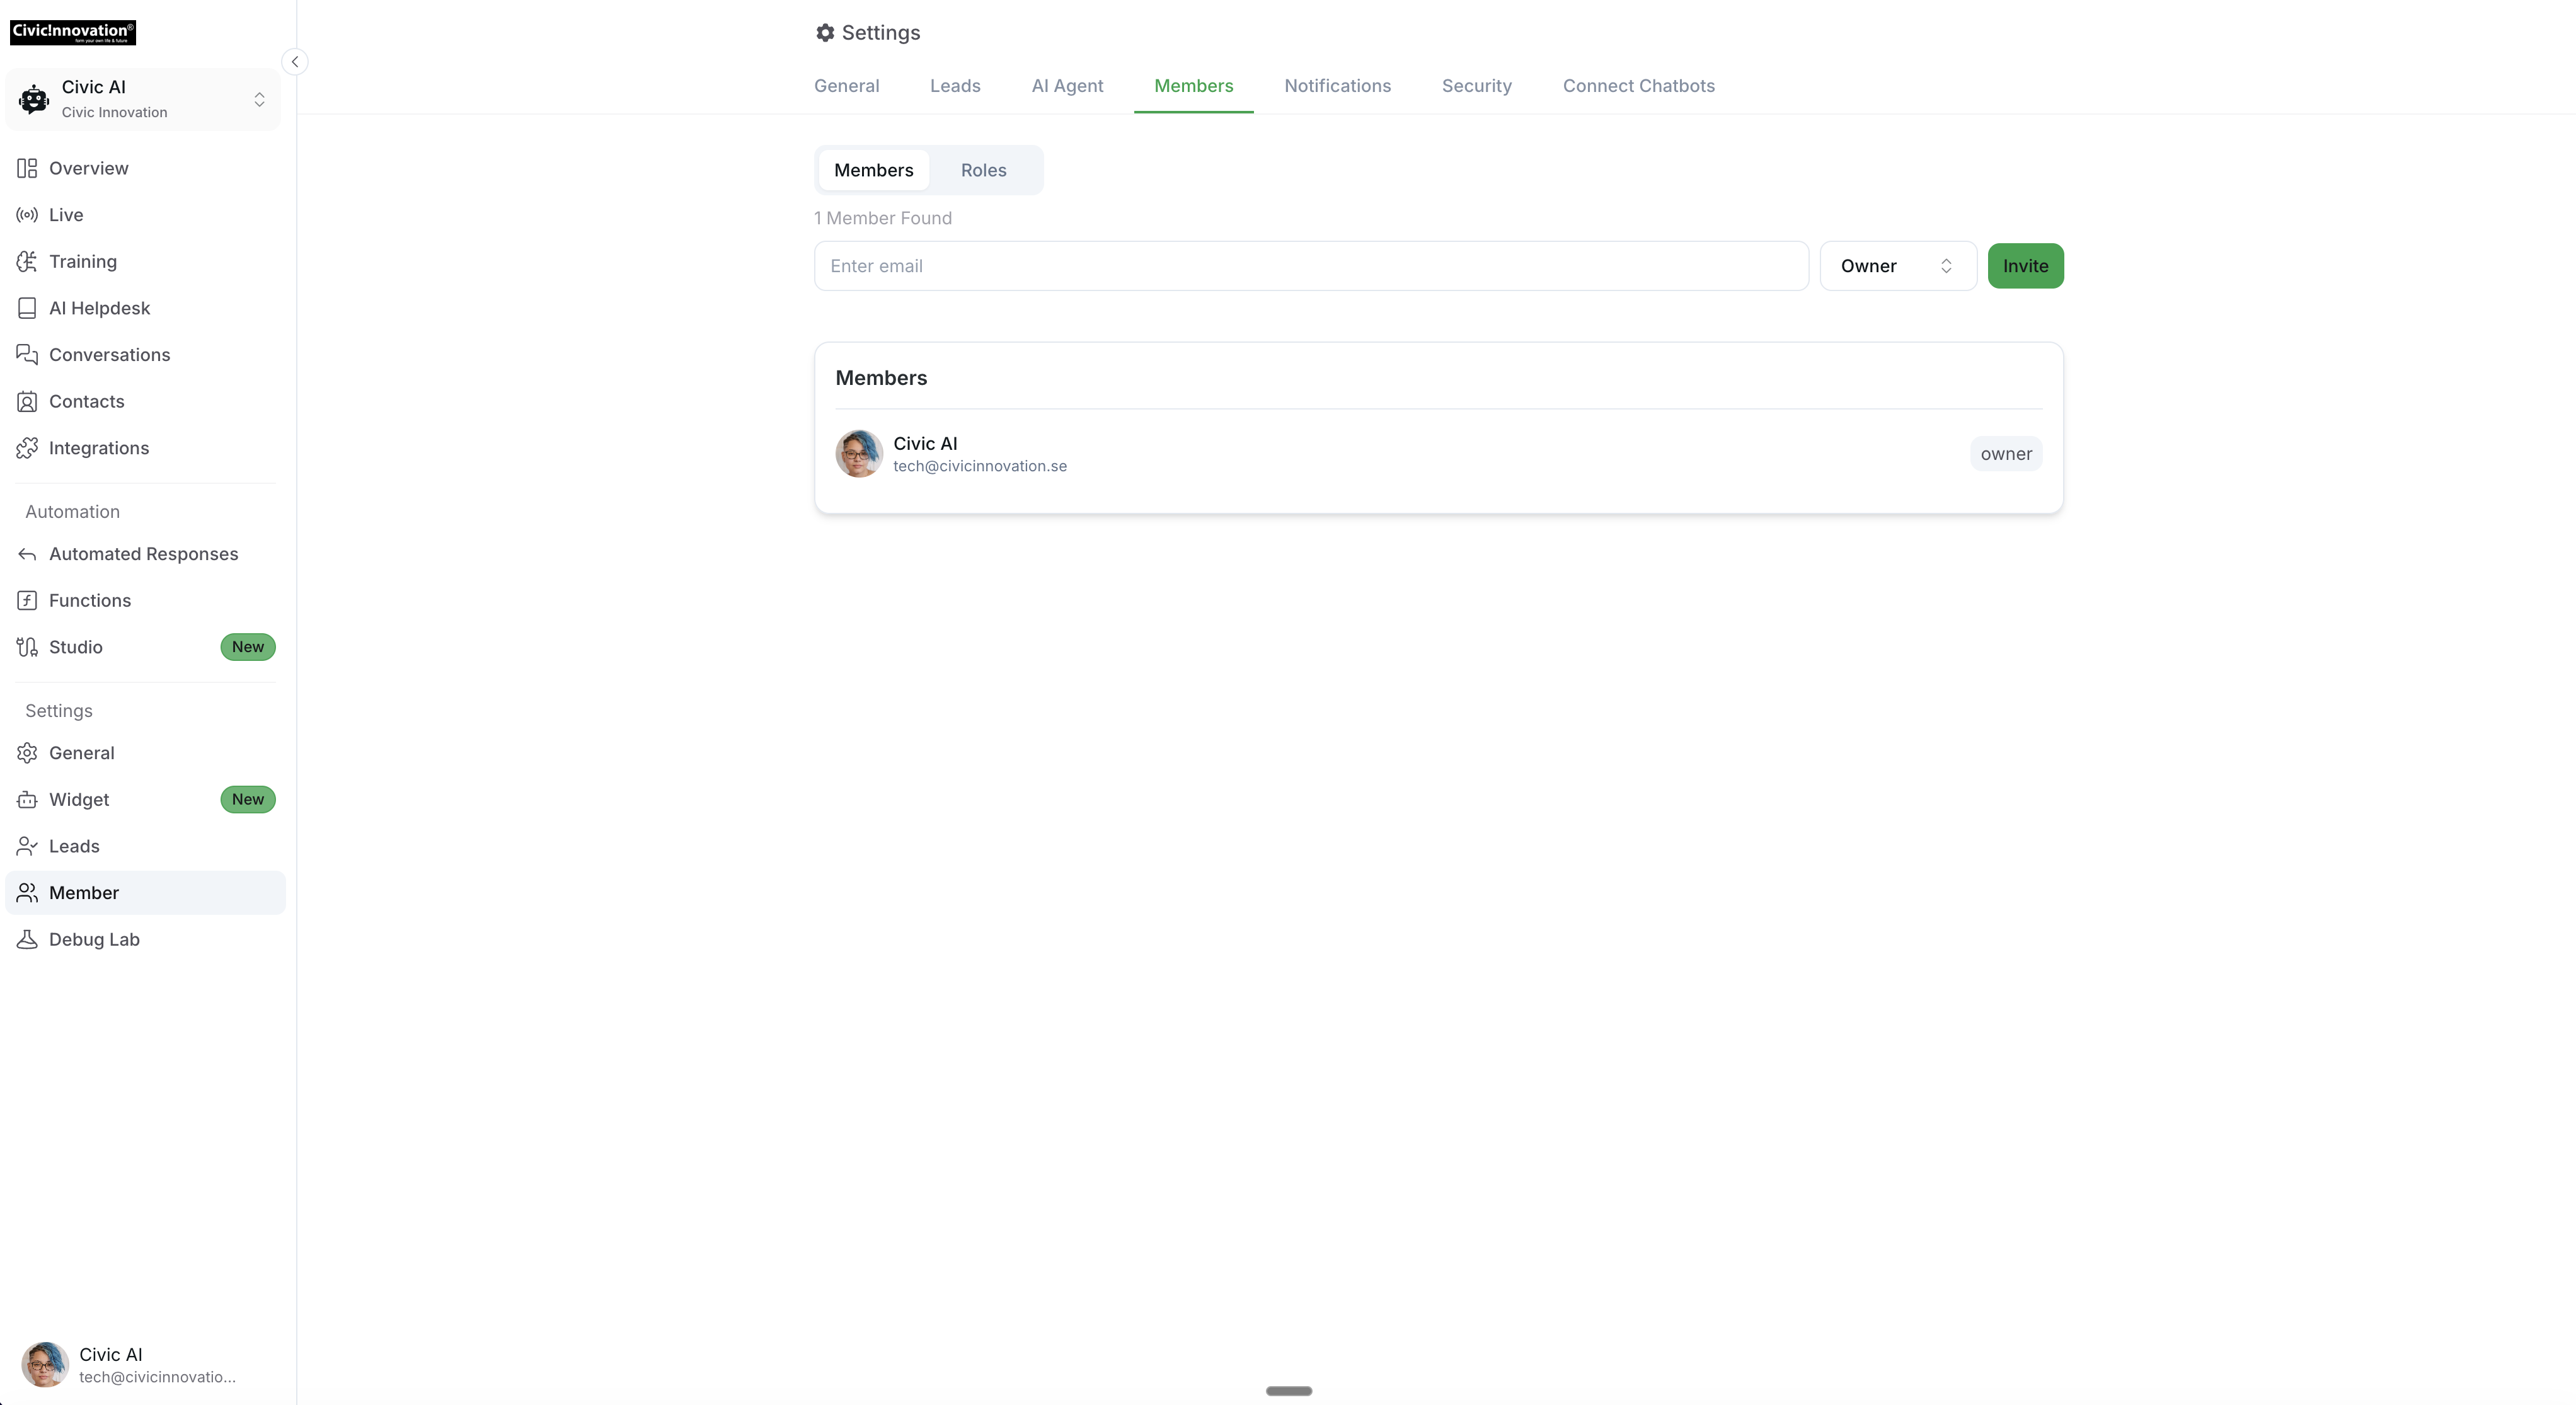
Adding teammates, assigning roles, and collaborating effectively is made easy with CivicAI. Follow these steps to invite team members to your AI agent:
Go to the General Settings of your CivicAI dashboard.
Click on "Members".
Enter the email address of the person you wish to add.
Choose a role from the available options:
Owner: Has full control over the project.
Editor: Can modify content but has limited control.
Viewer: Can only view the content without making changes.
Operator: Can perform specific tasks but has restricted access.
Click on "Invite" to send invitations.
Note: Ensure you enter the correct email. If you enter the wrong email, the invitation will not be sent. Also, check the spam folder to see the invitation.
Once the member receives the email, they need to open it and accept the invitation. After successfully accepting the invitation, the new member will appear in the member section with their role description.
Related Articles
Queue Replies
Learn how to setup Queue Replies in CivicAi Chatbot
Prompt Templates examples
Examples of detailed bot persona prompts and their restrictions for AI chatbots.
Limiting Number of Messages on your AI Agent
Explore how to effectively manage user access by limiting the number of messages
Building an AI Assistant for HR Operations
Handle employee queries, onboarding, and more with AI
Build an Internal AI Knowledgebase for your Team
Use AI to automate team workflows, onboard faster, and give instant access to business knowledge.
Make your AI Chatbot Proactive to Boost Visitor Engagement
Set up proactive chatbot triggers in CivicAi to boost visitor engagement and start conversations at the right moments.
How to Set Up Notifications for Human Escalation
This guide provides step-by-step instructions on how to set up notifications across various platforms when a human escalation request is made.